
Enhancing User Experience with Branded Outlook Actionable Messages in ServiceNow
Outlook actionable messages in ServiceNow is an opportunity to create interactive and modern notifications,. These notifications stand out with their modern appearance, eliminating the need for recipients to follow external links or respond through emails. Especially in the context of surveys, this approach can significantly elevate response rates.
However, while the out-of-the-box notifications serve their primary function, they can often appear generic, potentially leading recipients to perceive them as spam or unrelated content. A touch of branding can make all the difference, creating a sense of familiarity and trust with the recipients.
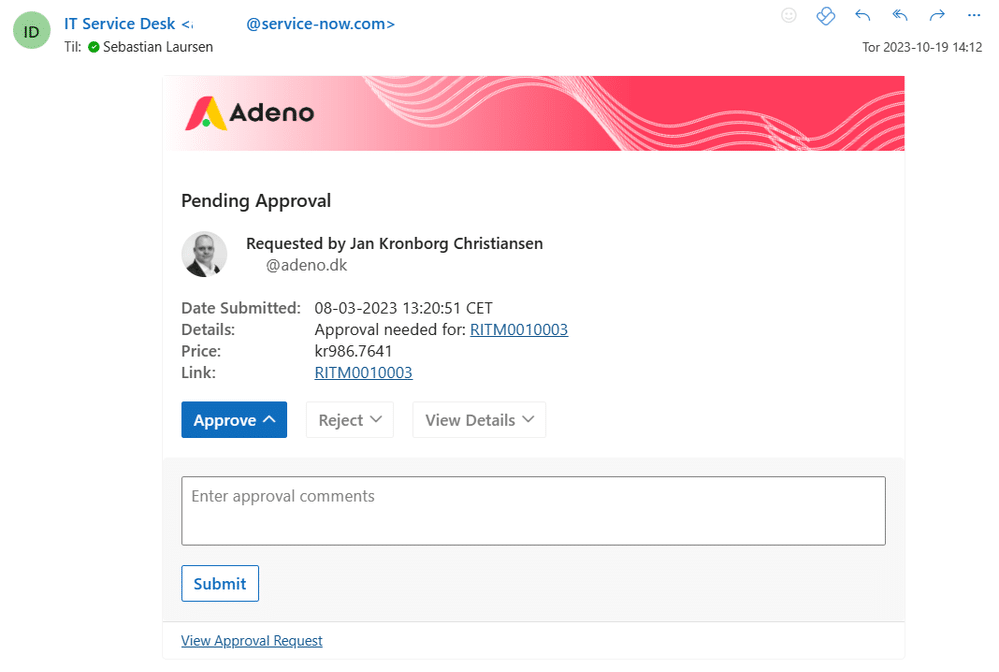
Here is how it looks unbranded out of the box:


Configuring Branded Actionable Messages
For those new to the process, here’s a step-by-step guide to branding your Outlook actionable messages in ServiceNow (of course after it is installed – follow link to how to install). After you have installed it, you need to put in the following in the notification you want to have OAM “${mail_script:include_approval_actionable}”. In this case the notification is called “Request approval assigned” out of the box. You will quickly discover that it completely replaces the other email, and for some, that means you loose all your brand identity. To fix this, we will need to do the following:
- Navigate to Actionable Messages -> OAM Definitions in your application menu.
- From the available options, you can either modify an existing OAM, such as the “OAM RITM Approval,” or create a new one. For the simplicity of this example, we will use the OAM RITM Approval.
- By default you will have the option to change what kind of OAM containers, and thus fields, you want to appear in the email. However, this does not give us an option to do any branding, so we will focus on that in another article. For branding purposes, click on the “Advanced OAM” related link.
- Here, you’ll encounter a script box displaying a JSON object. This object mirrors the current configuration of the chosen OAM.
- To embed branding, you’ll need to add in another object to the payload array as such:

It should look something like this (and the array of course continues):
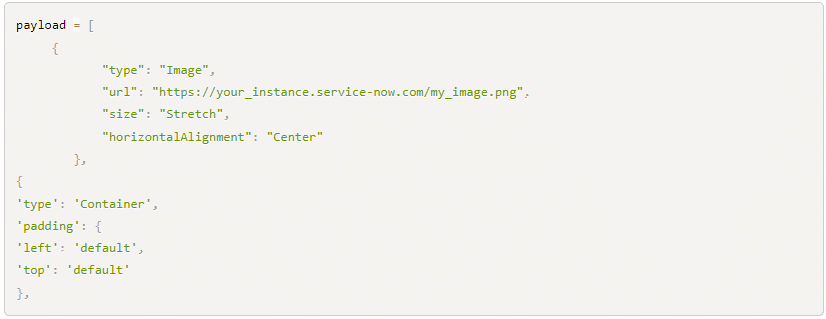
Remember, the dimensions of any images, like logos, you add are subjective. However, an approximate height of 120px and a width of 470px usually yields a balanced appearance. You just need to upload your image to “System UI -> Images” and then write the name of the image.
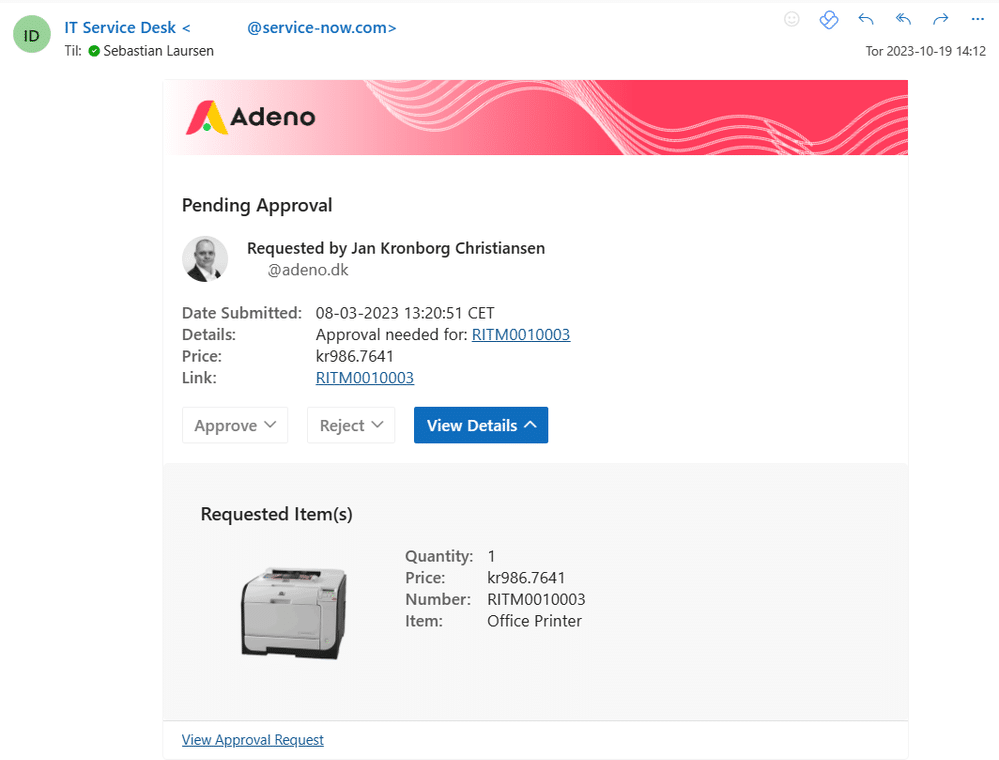
The Branded Result
This is how the same email appears with a branded look, by just adding a few lines to the JSON object:
Conclusion
Beautiful ain’t it, and so easy to do? With these modifications, your Outlook actionable messages will not only facilitate interaction but also reflect your organization’s brand identity, ensuring greater user engagement. And if you’re looking to further customize your OAM definitions, particularly for custom tables or other tables outside of Requests, keep an eye out for an upcoming article on advanced configurations.